This is part three of the "Break the Rules" HDR tutorial. Part one here. Part two here.
So, where to go from here?
So, where to go from here?
In part two of the "Break the Rules" HDR tutorial, you ended up with a perfectly usable, HDR image, ready for posting. What more is there, you may ask?
Oh, there's more you can do. Plenty more!
Should you decide to continue, you should use a Photomatix HDR image without the Photomatix "Finishing Touches" applied.
BONUS: Fun with Adobe Lightroom
In Lightroom, you can do all the "Finishing Touches" that you can do in Photomatix, and more. A whole lot more. In addition, you can "fix" certain portions of the HDR in a way that is not possible with Photomatix "Finishing Touches."
It's not uncommon in Photomatix to get a result that you love… except. Except the reds are too intense. Except the greens looks flourescent. You can fix that here.
How? Go to the "Develop" module in Lightroom. Go to the "HSL/Color/B&W section. Click on whether you want to correct Hue (the shade of color) or Saturation (the intensity of a color) or Luminance (the brightness of the color), then click on the little icon that looks like a target in the upper left on the section. Click and hold on the color you want to adjust and move the mouse up or down to correct. How to tell if it's the Hue or the Saturation or the Luminance that needs to be corrected? You just need to practice a bit with it.
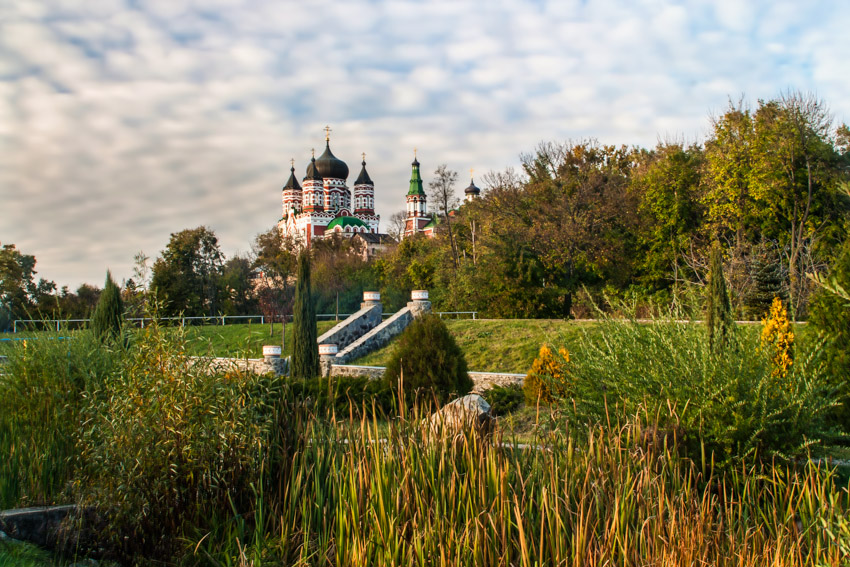
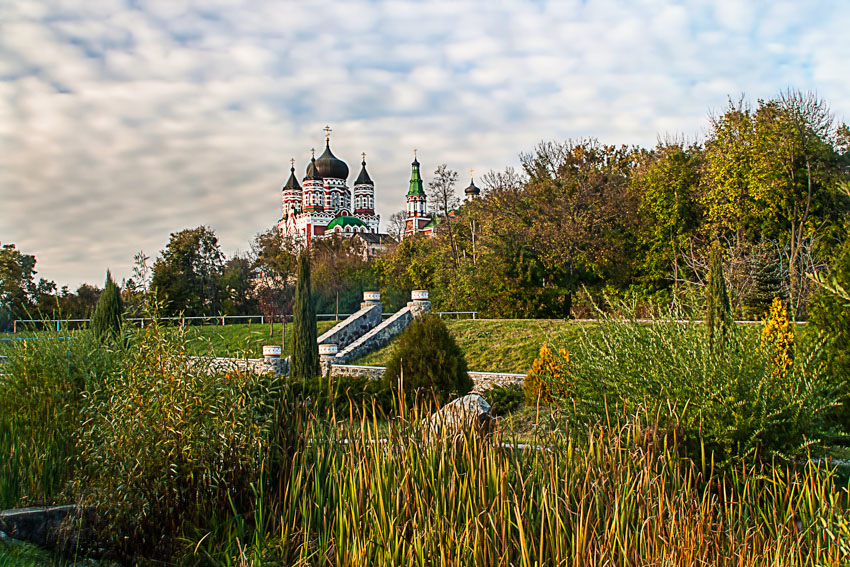
In addition, the sliders in the Basic and the Detail sections are another set you should try. Here’s a before and after.
Before:
After:
And all of this was done without Photoshop. What a deal!
But it’s even more of a deal lately, because a lot of plug-ins that used to be available for use only with Photoshop are now available for Lightroom too. But there are times when you need to do a bit more.
BONUS: Fun with Adobe Photoshop
But there are any number of things that you need a more powerful solution for. That’s where Photoshop enters the picture. So to say...
When I use Photoshop, which is most of the time when processing photos, I use it both for it’s features and as a control center to other Photoshop plug-ins and add-ons. When using my “Break the Rules” HDR tutorial, which is also most of the time, here is how I proceed.
In Lightroom, I select all four photos from the HDR process (the three bracketed photos and the Photomatix output), do a right click, and selected “Edit In” > “Open as Layers in Photoshop.” Once all photos are ready in Photoshop, I move the HDR version to the top of the stack, then one by one compared it to the 0EV version, the -2EV version, and the +2EV version to see if there were any elements in the EV versions that looked better than what appeared in the HDR version. In some cases, the EV versions have parts I like better, so I put a layer mask on the top photo (the HDR) and carefully brush through until what was on the top layer has been replaced by what is on the layer below.
Depending on the photo, I also use Photoshop for these reasons.
- I do a lot of city photography. When photographing buildings, you often get the “building falling backwards” look or the “buildings tilting inward toward each other” look. To fix this, I use the Lens Correction Filter in Photoshop. Filters > Lens Correction. Some photographers amazingly don’t seem to be bothered by this. But I like my buildings to look similar to how I saw them in my mind’s eye.
- To select a portion of a photo for adjustments. This can be done using the Quick Select tool, the Magic Wand tool, or the Select > Color Range tool. I’ll might then make the adjustment with an adjustment layer, or with a layer mask.
- As a command center to invoke third-party plug-ins or actions. Some third-party plug-ins are the Nik Collection, the Topaz Collection, the onOne PhotoSuite or Perfectly Clear, all of which I’ve used at one time or another, sometimes only on a trial basis. And there are thousands of downloadable Photoshop Actions on the internet, some for free, some for a fee. Needless to say, the quality of these actions may vary.
Here’s an example of #1 above, showing both the “building falling backwards” look and the “buildings tilting inward toward each other” look. The “Break the Rules” HDR process has also been applied.
Before:
After:
Finishing your Photos
Right now, you no doubt have a photo that you’re pretty darn happy about, but there’s a couple more things you should look at. Seriously, there’s still a couple more things you should consider doing.
Step 1 ~ Noise Reduction.
When you’re looking at a photo at a small size, it’s looking pretty good. But start looking at it at 100% size, and some parts of it don’t look all that good any more. The sky is often a culprit. So, what’s going on? It’s something called “digital noise.” Luckily, it can be fixed easy enough with noise reduction software. Not surprisingly, there are a number of packages that can fix this.
If you purchased the Nik Collection or the Topaz Collection, you may already have noise reduction software!
Things to watch out for when using Noise Reduction software.
Noise Reduction software will sometimes make parts of the photo look less clear or less crisp. For this reason, I often use it only where needed. And the most likely place you’ll need to use it is the sky.
Noise Reduction software may not be able to fix all noise problems. Whenever possible when shooting, use a lower ISO. For example, ISO 800 will generate less noise than ISO 1600. Of course, using a lower ISO is not always possible.
Step 2 ~ Sharpening.
This last step may change your great picture into a super awesome picture! If you already have the Nik Collection, the onOne Collection or the Topaz Collection, great news! You already have tools for sharpening at your disposal. But instead of explaining why sharpening is so awesome, we’ll let the photos do the talking…
Show only before = Before Sharpening
Show only after = After Sharpening
Show only before = Before Sharpening
Show only after = After Sharpening


No comments:
Post a Comment