


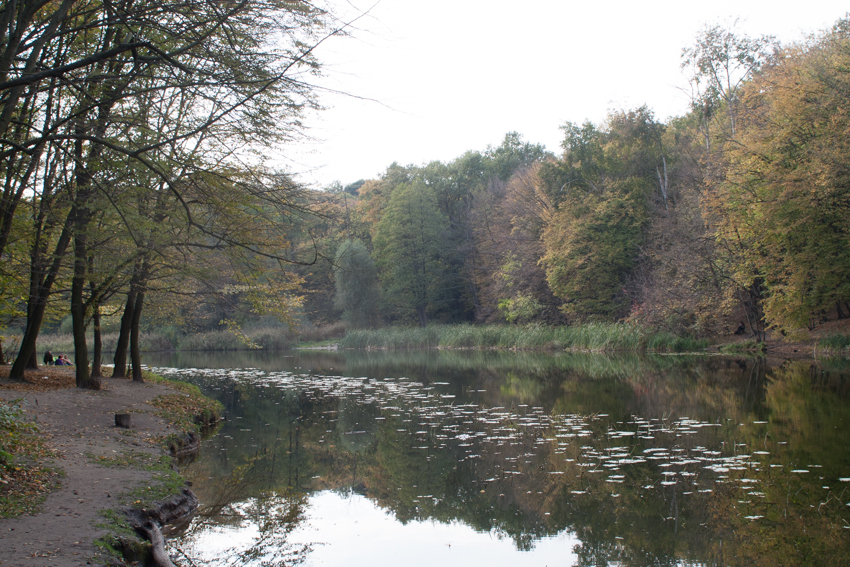
A pond and path, seen at Holosiivs'kyi Park, Kiev.
How I did this.
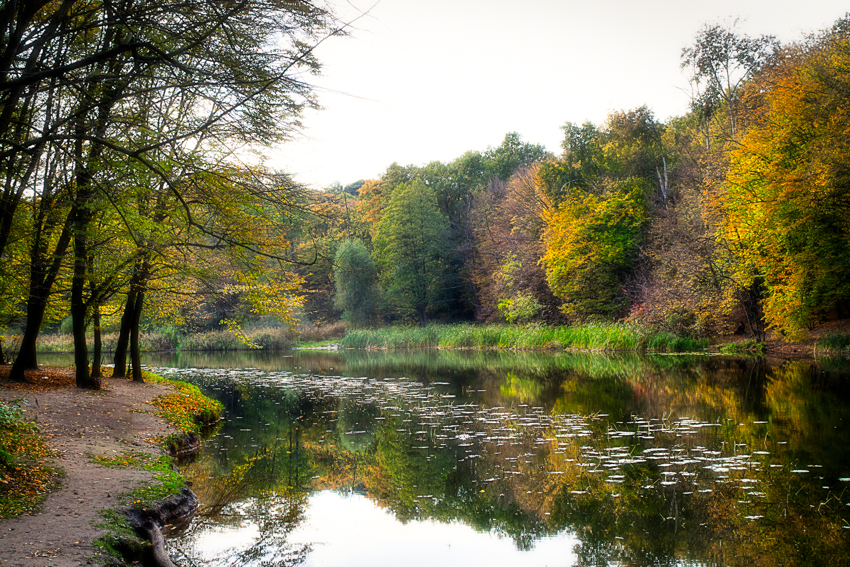
Starting with a single photo, which you see below, I follow my "Break the Rules" HDR process to create an HDR using Photomatix. Just using this tutorial will take you 75% of the way to this final result. Yes, it is that powerful. Then I did a bit of cloning to remove those people in the background and that stump. After that, I send it off to onOne Perfect Effects for some final processing. This is what I did.
NOTE: Filters in different versions of Perfect Effects may have different names or different locations in the left menu.
Apply the radiance filter. Take it easy using this one, because it will often make the overall result darker. But it will add some punch to your colors when used judiciously.
Apply the Hollywood Glow filter. Again, take it easy. This glow effect will be similar to a soft focus effect and will take the sharpness off some of your edges.
Go the Adjustment Brush panel and select add color. Then take some of the colors that have already been highlight by the previous steps and pop them up just a bit more.
Apply these effects and return to Photoshop. As a final step, I applied Russell Brown's High Pass Detail action to sharpen the final photo. Flatten and save.
I believe I found this detailing action on the following page, though I can't swear to it.
Russell Brown's Actions.
Before:
How I did this.
Starting with a single photo, which you see below, I follow my "Break the Rules" HDR process to create an HDR using Photomatix. Just using this tutorial will take you 75% of the way to this final result. Yes, it is that powerful. Then I did a bit of cloning to remove those people in the background and that stump. After that, I send it off to onOne Perfect Effects for some final processing. This is what I did.
NOTE: Filters in different versions of Perfect Effects may have different names or different locations in the left menu.
Apply the radiance filter. Take it easy using this one, because it will often make the overall result darker. But it will add some punch to your colors when used judiciously.
Apply the Hollywood Glow filter. Again, take it easy. This glow effect will be similar to a soft focus effect and will take the sharpness off some of your edges.
Go the Adjustment Brush panel and select add color. Then take some of the colors that have already been highlight by the previous steps and pop them up just a bit more.
Apply these effects and return to Photoshop. As a final step, I applied Russell Brown's High Pass Detail action to sharpen the final photo. Flatten and save.
I believe I found this detailing action on the following page, though I can't swear to it.
Russell Brown's Actions.
After:
And the alternate "BETTER" version of before and after:
No comments:
Post a Comment